Creating Blog Post Feature Image Using Inkscape
Inkscape is an SVG image editor. We utilize Inkscape to create SVG images and subsequently export them to the PNG format for inclusion in web pages. Let’s begin with generating a feature image for the blog using Inkscape.
Installing Inkscape
To install Inkscape on Debian/Ubuntu-based systems, execute the following command in the terminal:
1
sudo apt update && sudo apt install inkscape
Starting the app
Launch the Inkscape application from the Applications launcher. In the Quick Setup tab, you’ll find three fields to configure. I prefer the Dark Canvas, so I’ve changed it to that and saved the configuration. Click on Thanks in the Supported by You tab. In the Time to Draw tab, click the New Document button to start drawing an SVG image.
 Inkscape welcome screen
Draw a rectangular region
The recommended dimensions for a blog post feature image are 1200x628 pixels. Let’s create a rectangular region with those dimensions. The steps are as follows:
Click on the images to expand the view.
- Click on the Rectangle icon located in the toolbox on the left side (Shortcut -
R). Inkscape rectangle icon in toolbox
- Draw a rectangle of any size by dragging the mouse on the canvas.
 Draw rectangle on Inkscape canvas
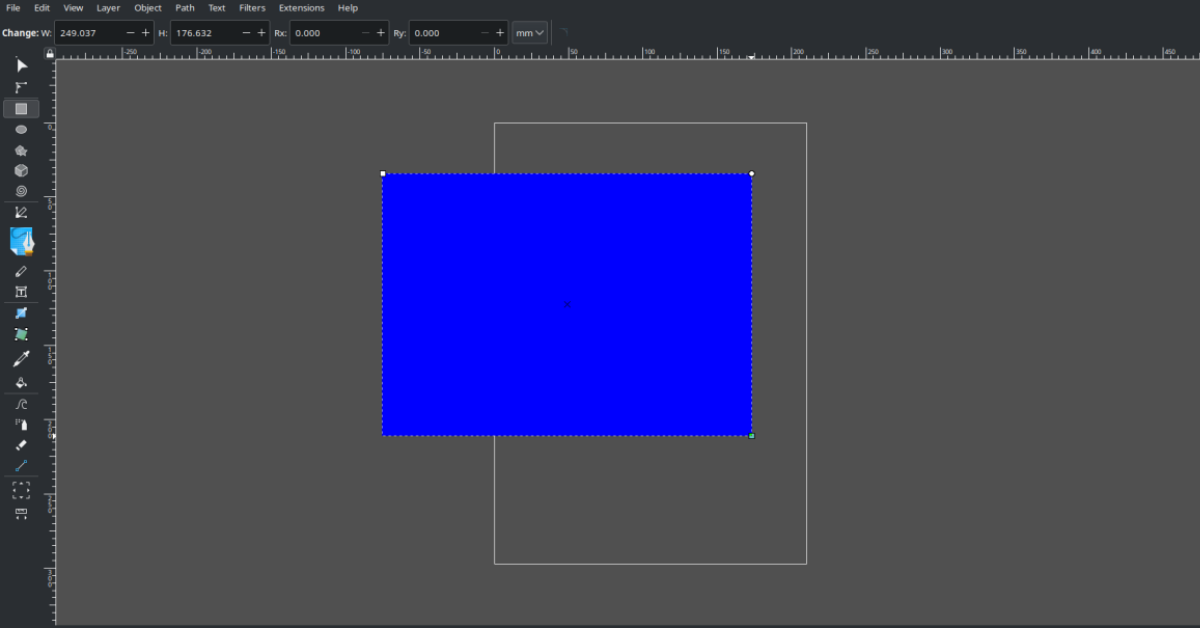
- You’ll find the Width and Height parameters in the Tool Controls Bar. Manually enter the width as 1200 and the height as 628 as shown in the below picture.
 Change dimensions inkscape rectangle
- Resize the Canvas page to match the drawing. This ensures that when you save the image, it will have exact dimensions of the rectangle you’ve drawn. You can use the shortcut
Ctrl+Shift+Rto do it automatically or follow the below procedure. - Go to File -> Document Preperties… -> Resize page to drawing or selection (Ctrl+Shift+R)
 Inkscape adjust canvas to match drawing
Choose color and gradient
- You can change the color of your rectangle by selecting one of the colors from the palette below.
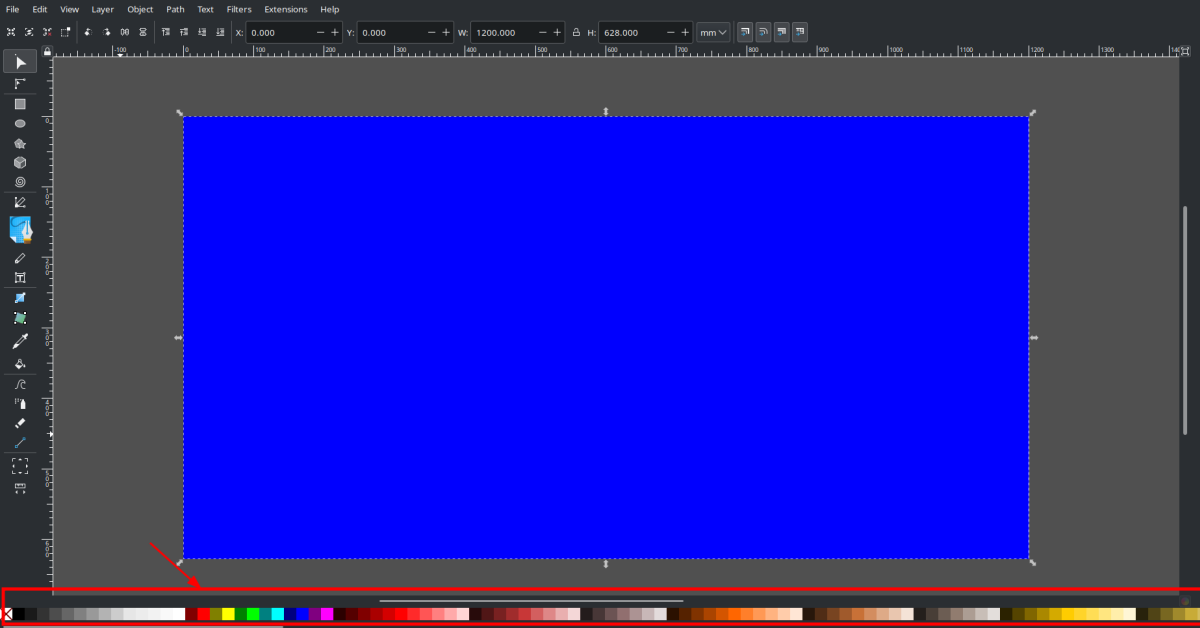 Change rectangular region color
- I’ve chosen the green color, as you can see in the picture below. Let’s apply the Mesh gradient to the rectangle.
- Open the Fill and Stroke panel by pressing the shortcut
Ctrl+Shift+F. Alternatively, you can open the same by clicking on Object -> Fill and Stroke… from the menu.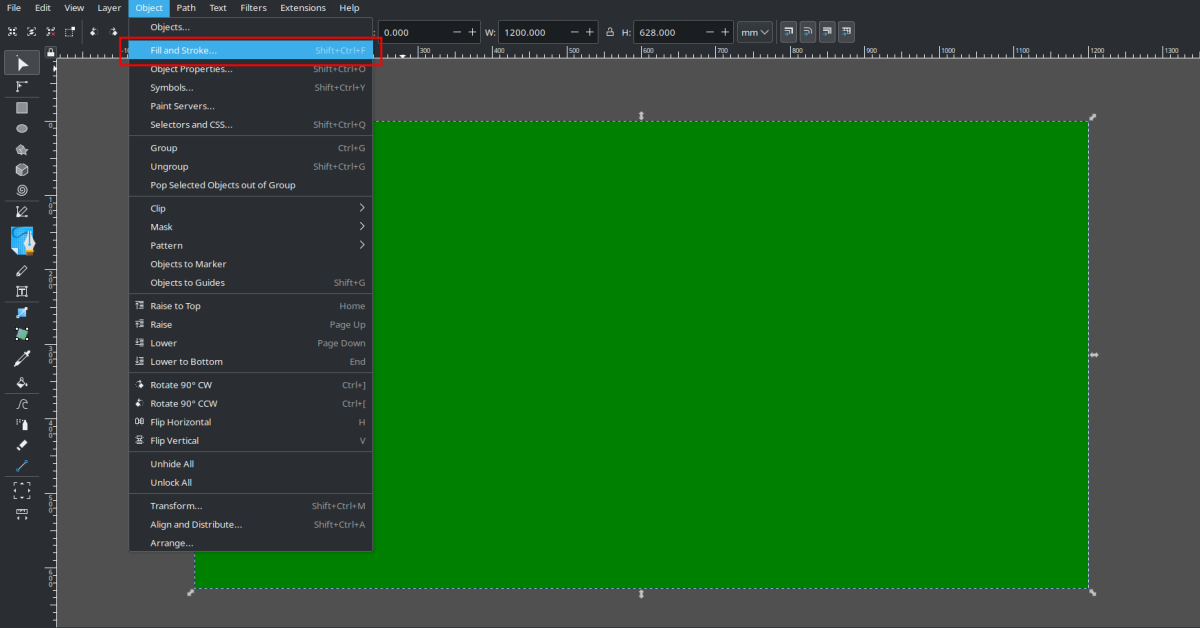 Navigate Fill and Stroke pane
- Once the Fill and Stroke pane is opened, click on the Mesh gradient icon.
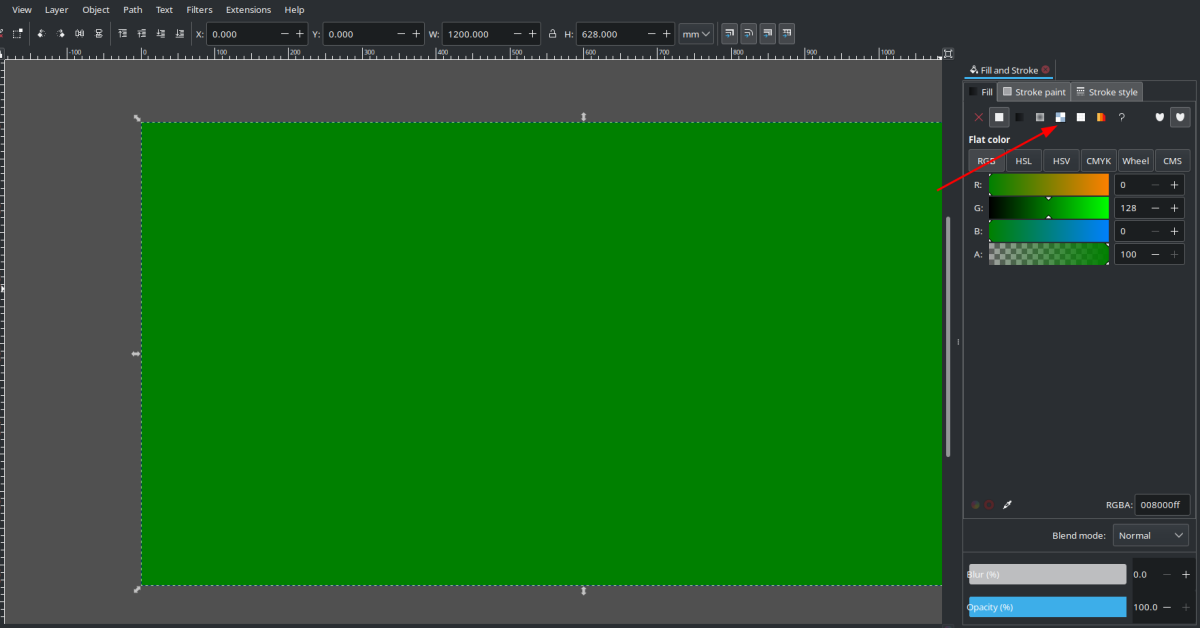 Apply Mesh Gradient
- As you can see the picture has turned out nicely. I’ve also adjusted the Blur effect to be 10%, as you can see in the bottom right.
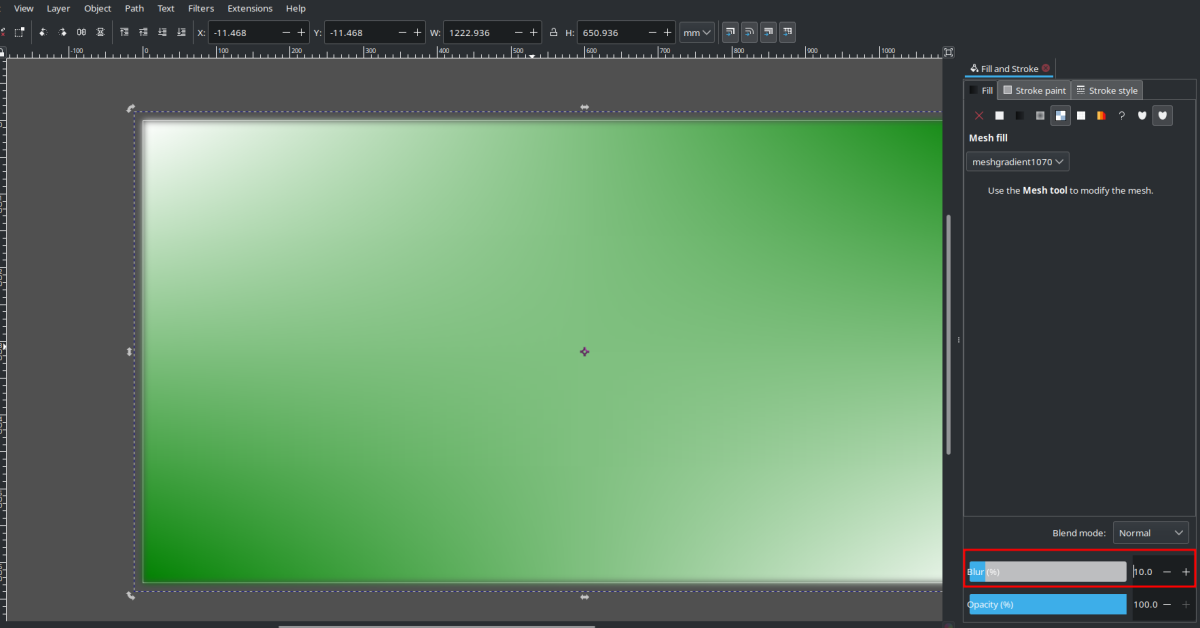 Inkscape image blur
- Navigate to the ‘Stroke style’ tab in the ‘Fill and Stroke’ pane. Change the width to 0.5.
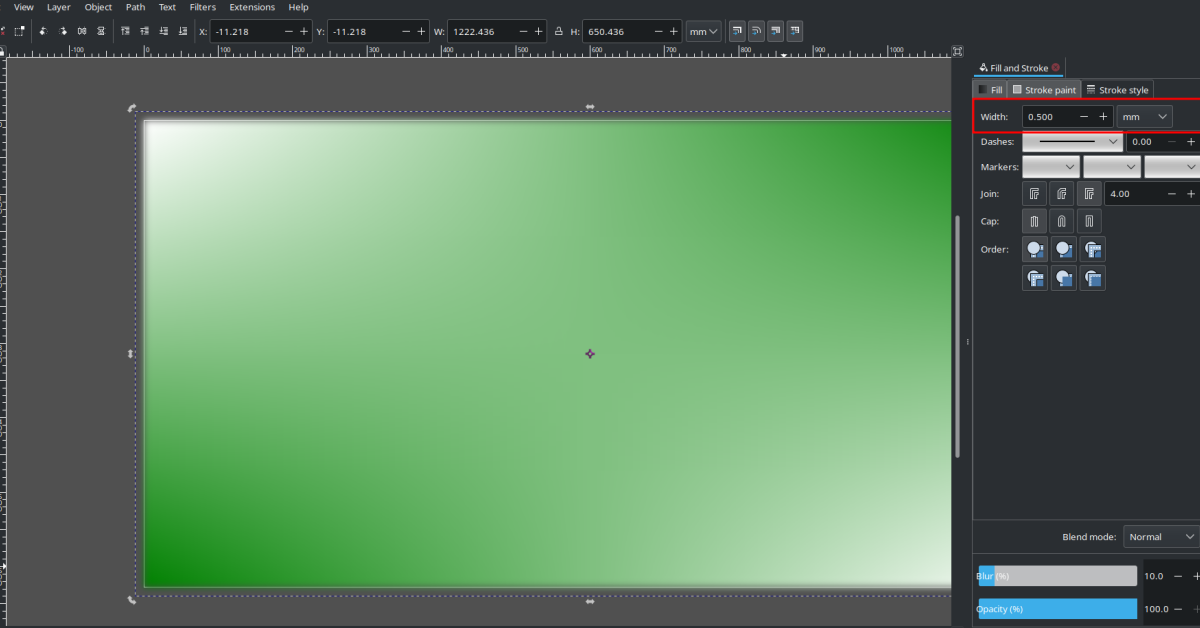 Inkscape border width
Add the images
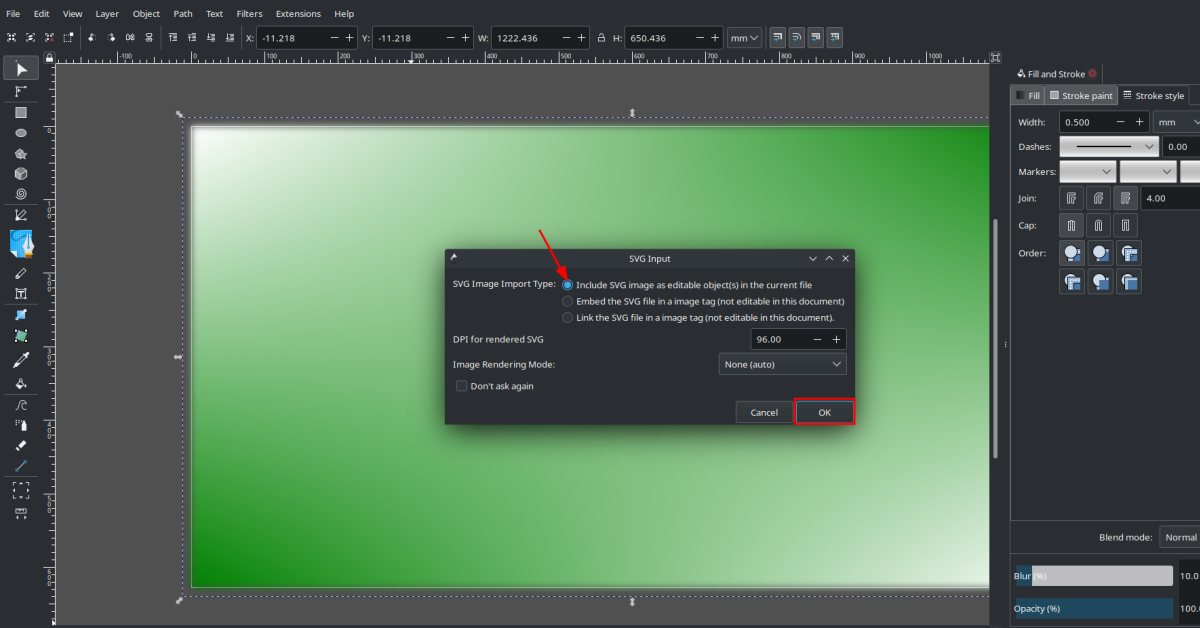
- Drag the images onto the canvas that you want to add to the feature image. Inkscape works seamlessly with SVG images. I imported ‘inkscape.svg’ onto the canvas, and during import, I selected the option ‘Include SVG Image as editable object(s) in the current file’.
 Inkscape import svg
- The image may be difficult to see if it’s small. However, you can adjust the dimensions of the image in the ‘Tool Controls Bar’. Use the ‘Select’ tool (Shortcut
S) to drag and adjust the image’s position. Import image adjust dimentions
Add the text
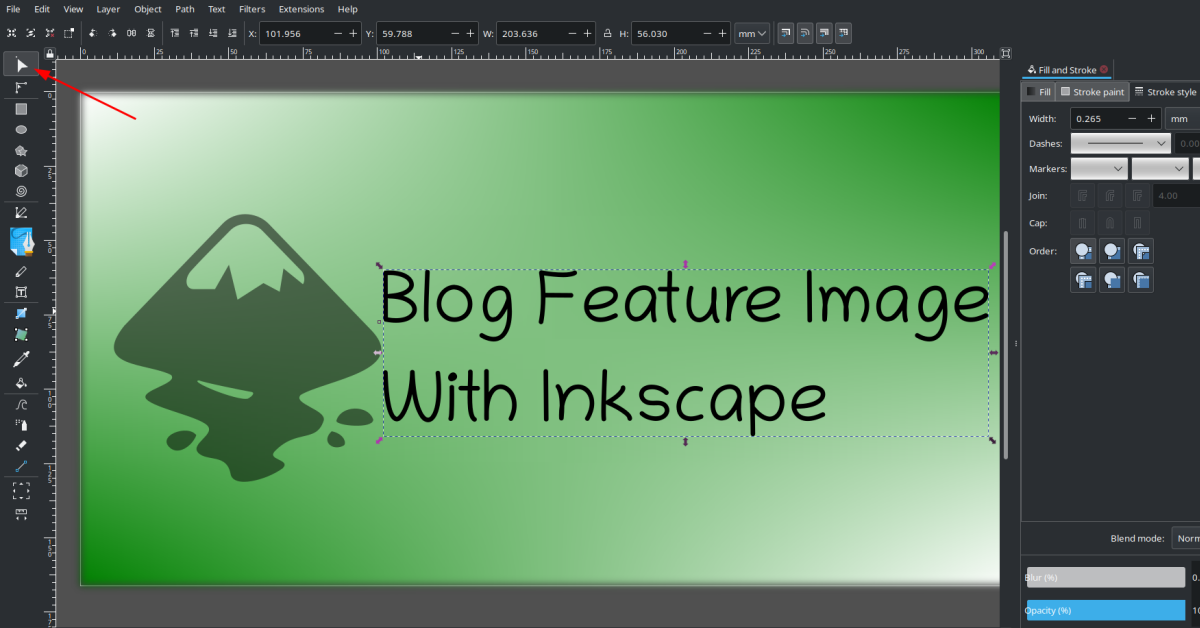
- Now it’s time to add the post title to the image. Select the Text icon (Shortcut
T). Inkscape text icon
- Click on the canvas where you want your blog post title to appear. Type the title. Pressing
Ctrl+Anow selects the whole title. You can change the font properties, such as font type, font size, etc., from the Tool Controls bar. I’ve discovered a few fonts that I believe will look appealing for the titles. Chilanka font, Dyuthi, Liberation Serif, Noto Serif Display and Purisa.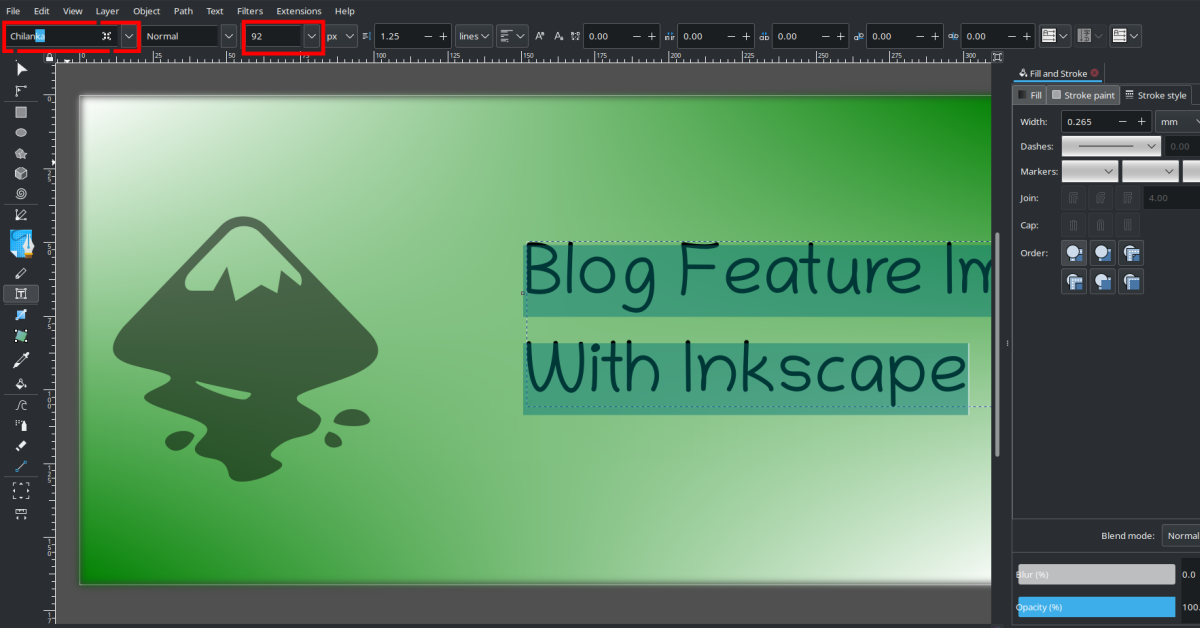 Inkscape add text to canvas
- To move the text to the desired location on the canvas, employ the select tool, click on the title, and then drag it to the desired position.
 Inkscape drag the text
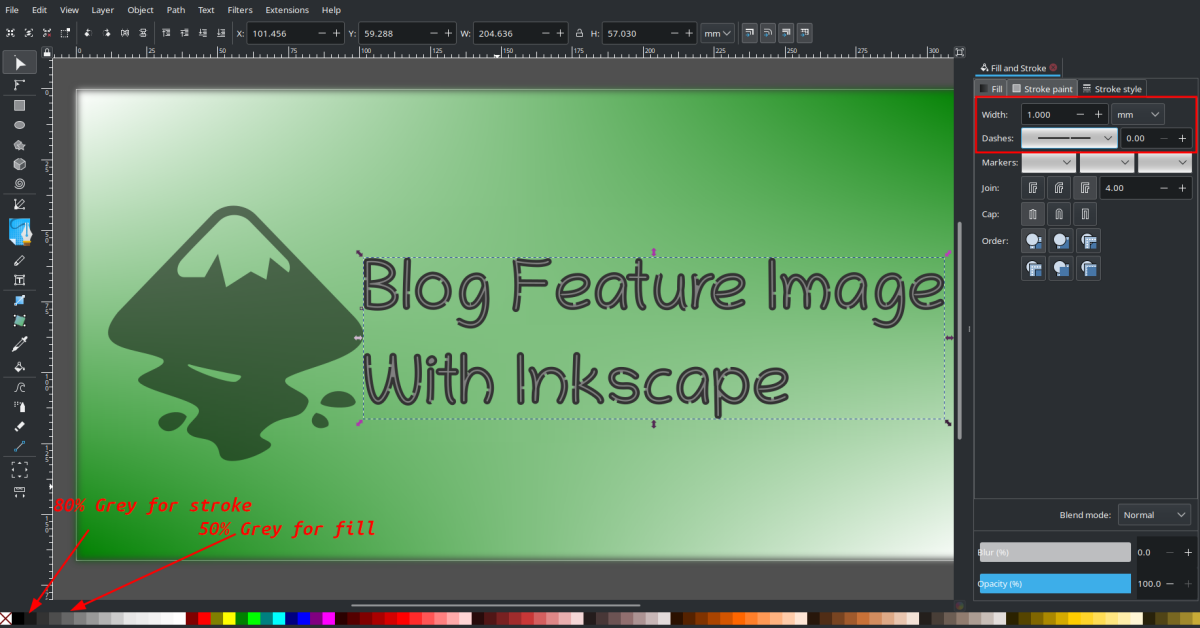
- Let’s enhance the text now. In Inkscape, fonts have both a ‘Fill’ and ‘Stroke.’ We can change the ‘Fill’ color by clicking on a color (I used 50% grey) from the palette. To modify the ‘Stroke’ color, press and hold the
Shiftkey and then click on a color (I used 80% grey). - Additionally, in the ‘Stroke style’ section of the ‘Fill and Stroke’ pane, we can fine-tune the ‘Width’ and ‘Dashes’ for further decoration.
 Inkscape text fill and stroke
Add brand
- You can also import PNG images onto the canvas, although SVG images are recommended. If you choose to import a PNG image, select Image DPI: as From file and set the Image Rendering Mode to None (auto).
- I have my blog address as a PNG image, which represents my brand. I’ve positioned it in one corner of the canvas.
 Inkscape import image
RExport to png image
- Finally, go to ‘File’ -> ‘Export PNG Image’ -> ‘Export As…’ from the
Export PNG Imagepane. Inkscape export svg to png 1
The final blog feature image
- Here is the final blog post feature image generated using the above steps in Inkscape.
 Inkscape final feature image
Resetting the inkscape
Navigate to Edit -> Preferences -> System -> Click on Reset Preferences
Create low quality image placeholder
A low-quality image placeholder (LQIP) enhances user experience by displaying a temporary image while the original image is loading in the post. You can install and generate an LQIP image using the commands below.
1
sudo apt-get imagemagick
1
convert IMAGE.png -resize 20x20 -strip -quality 20 tmp.webp && base64 -i tmp.webp && rm tmp.webp
Copy the output and use it in the front matter like the following:
1
2
3
image:
  path: COVERIMAGE_PATH
  lqip: data:image/webp;base64,COMMAND_OUTPUT_HERE